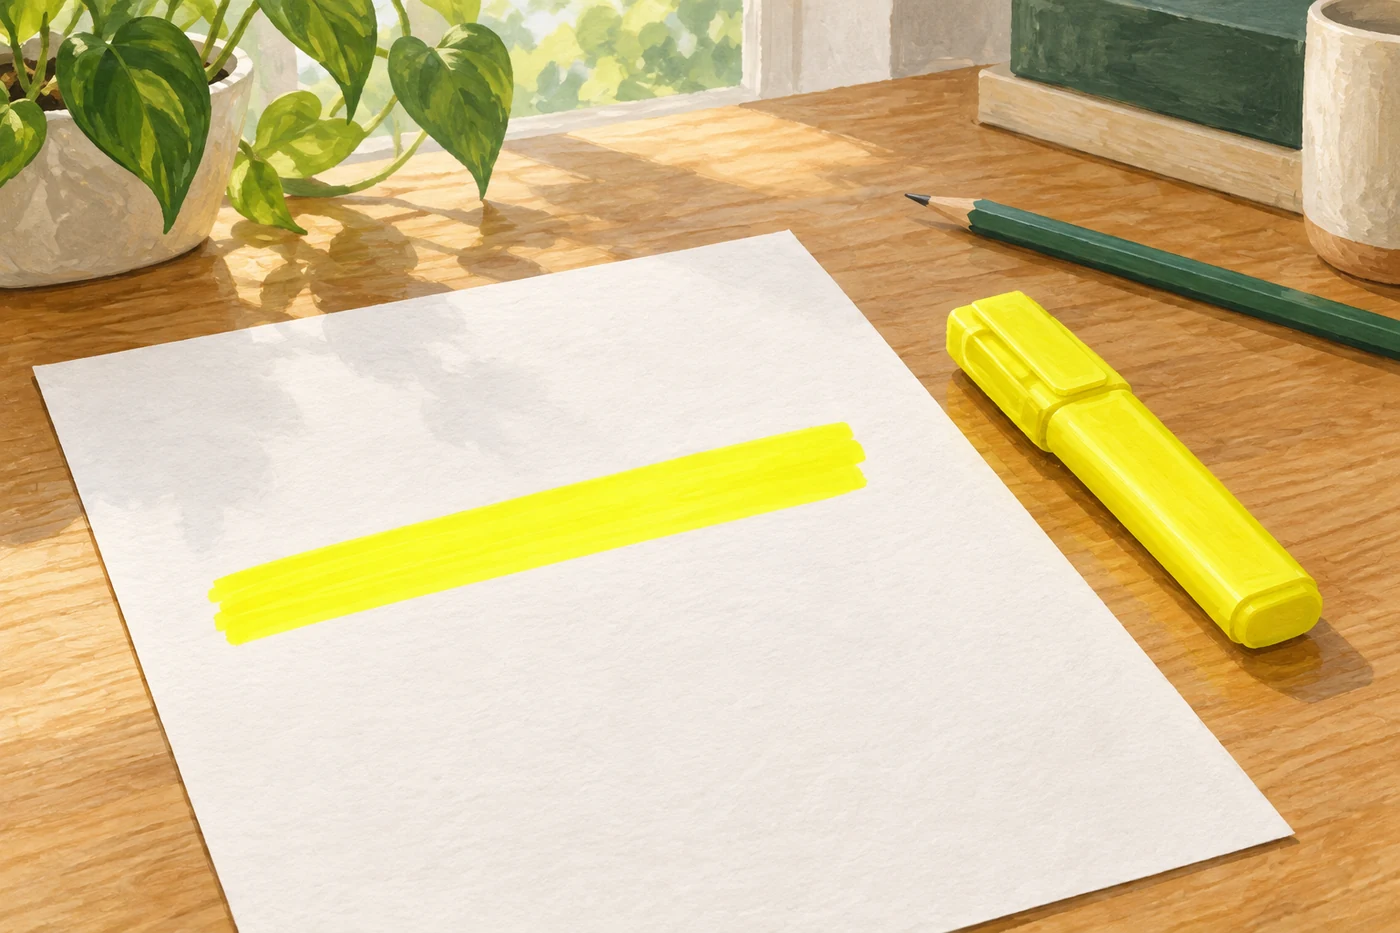
Many highlighters contain fluorescent dyes. They absorb suitable light and quickly release some of its energy as new visible light. This adds to the light reflected from the mark, which can make it look especially vivid.
The cover is an illustration, not a brightness measurement. Your screen can only partly reproduce the unusual effect of a real fluorescent mark. Different markers can contain different dyes.
Reflecting and emitting
With an ordinary dye, some incoming light returns to our eyes while other parts are absorbed. A fluorescent dye can also emit light of a different colour.
This is called fluorescence. The dye needs suitable illumination to do it. It does not create energy from nothing.
A tiny energy detour
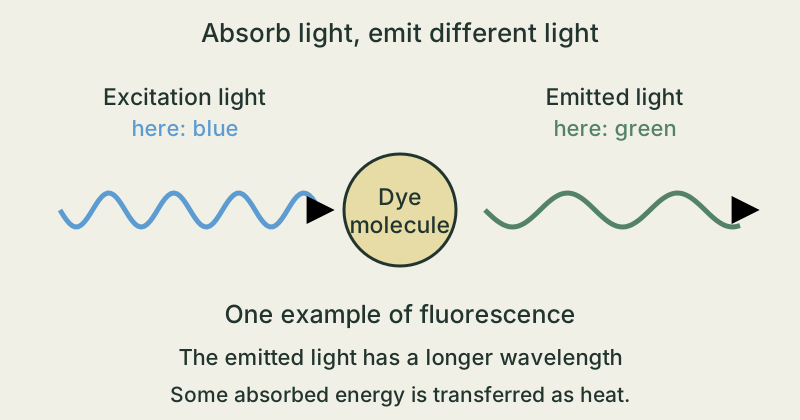
A dye molecule absorbs a particle of light, called a photon, and enters a higher-energy state. Some energy is transferred to its surroundings, for example as heat.
The molecule can then emit a new photon. For the dyes discussed here, this photon has less energy and a longer wavelength. Diagram 1 uses blue excitation light and green fluorescence as an example.
The lighting matters too
Some yellow highlighters contain a dye that can absorb UV or blue light and emit green light. The blue component of a white LED can excite this fluorescence too.
Our eyes cannot see UV light. Which parts of the light excite a marker depends on its dye, though. Saying 'only UV works' would be too simple. This is one reason marks can look different under different lamps.
Bright does not mean glow-in-the-dark
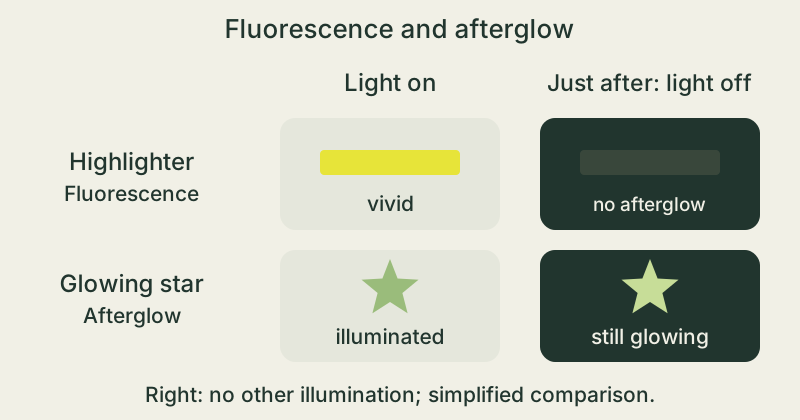
Fluorescence stops almost immediately to our eyes when its excitation light is removed. An ordinary fluorescent highlighter is therefore not a glowing star for a dark bedroom ceiling.
Phosphorescent stars can continue emitting light after the lamp is switched off. Diagram 2 compares this afterglow with fluorescence. Both first need an energy input, but release it as light on different timescales.
Compare two colour patches under ordinary light
- Use a yellow highlighter intended for paper to colour a small patch. Colour a second patch beside it with a yellow coloured pencil. Let both dry. Use the same sheet for the whole comparison.
- Look at the sheet in diffuse daylight by a window, then under an ordinary white desk lamp. Keep your distance and viewing direction similar. Record which patch stands out more; 'hardly any difference' is a result too.
- Compare your notes with the diagrams. Your observation records appearance under two kinds of lighting. It does not prove fluorescence on its own: ink coverage, paper and illumination also change the impression. Reliably separating emitted light from reflected light needs a suitable optical experiment.
Follow the marker manufacturer's instructions and work with an adult if needed. Keep ink away from skin and mouths. Do not open or soak pens. Use no UV lamps, lasers, solvents or direct sunlight for this observation. Do not look into a lamp.
The takeaway
Fluorescent ink absorbs suitable light and quickly emits light of a longer wavelength. This can make it stand out. Without excitation, there is no lasting fluorescent glow.
What can make a fluorescent highlighter look especially bright?
Sources & further reading
West Texas A&M University · Christopher S. Baird: Fluorescent highlighter markers ↗Biophysical Society · Lesson Plan: Fluorescence (PDF) ↗University of Wisconsin–Madison · Wonders of Physics: Fluorescence ↗Our stories explain the main idea in our own words. Pictures and models simplify reality and are not drawn to scale.